As the visual part of your website is essential, Sitebuilder+ offers many useful features that can help catch your visitor’s attention quicker. This guide will show you how to customize your images to make your website more visually appealing.
Demo content vs. your own images
All Sitebuilder+ templates are filled with demo images according to their niche and theme. You can keep the demo images or replace them. If you choose to replace the images, you have two options:
- Add your own images
- Add free stock photos from the built-in extensive photo library.
Read our dedicated Adding images tutorial to learn more.
After adding a new image to your website, you can perform a set of actions to make it look appealing: cropping, resizing, and position changing.
Cropping your image
When your image doesn’t ideally fit the frame, you can crop it right in the Sitebuilder. To crop your image, follow these steps:
- Click the image to call out its customization menu.
- Click the Crop icon to open the control pane, where you can zoom in and out of the image.

- Hold the slider and drag it to the position you like along the bar. Drop it when you like the image size. Alternatively, you can click the magniglass icons on the sides of the slider bar to zoom in or out your picture by 10%.
- If you want to return to the image’s original view, click the Fit icon.
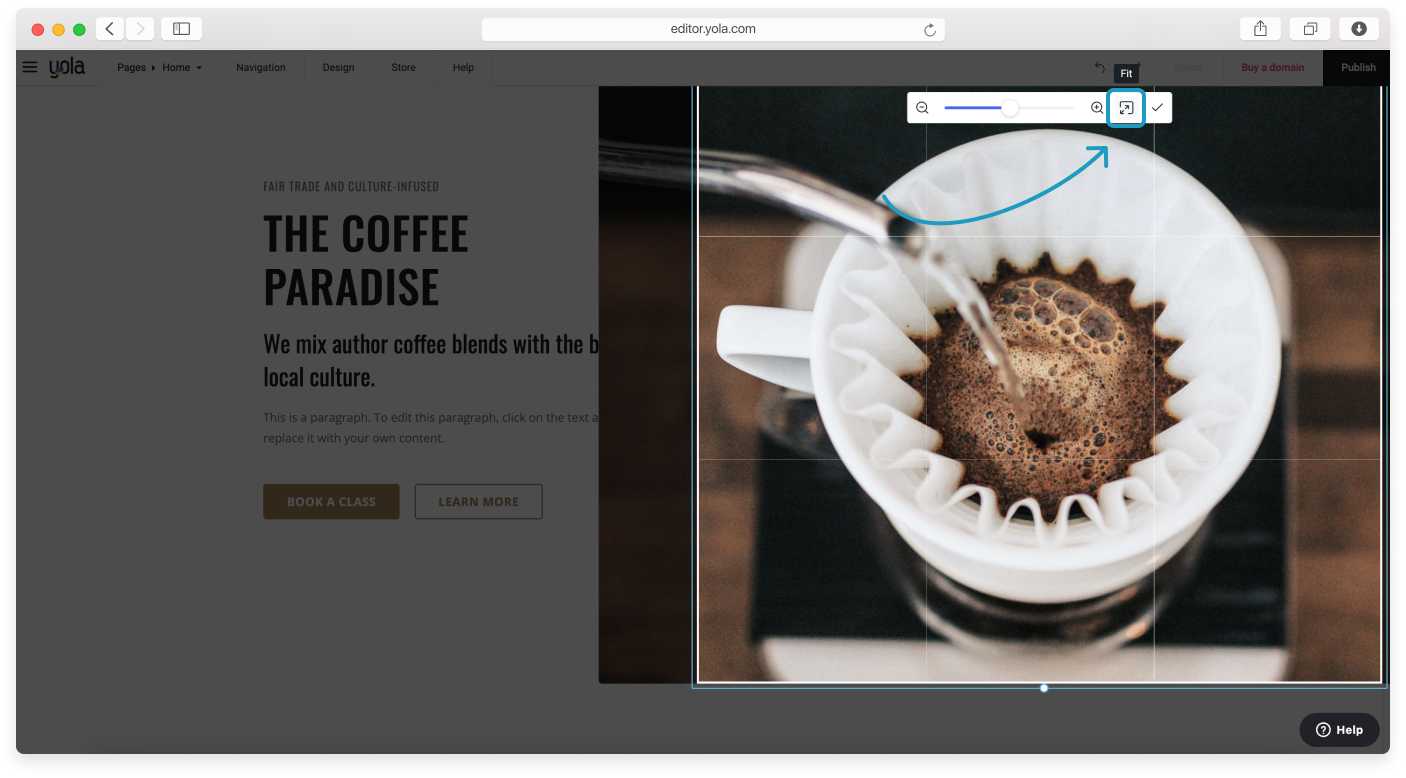
- Click the tick mark icon to submit.
Here’s the video of the process.
Note: You can use the undo button to reverse the actions.
Image frame resizing
Sitebuilder+ allows you to resize your image frames individually or in groups.
Here’s how you resize your image frame:
- Click the image you want to resize to enable the image resize control on the bottom.
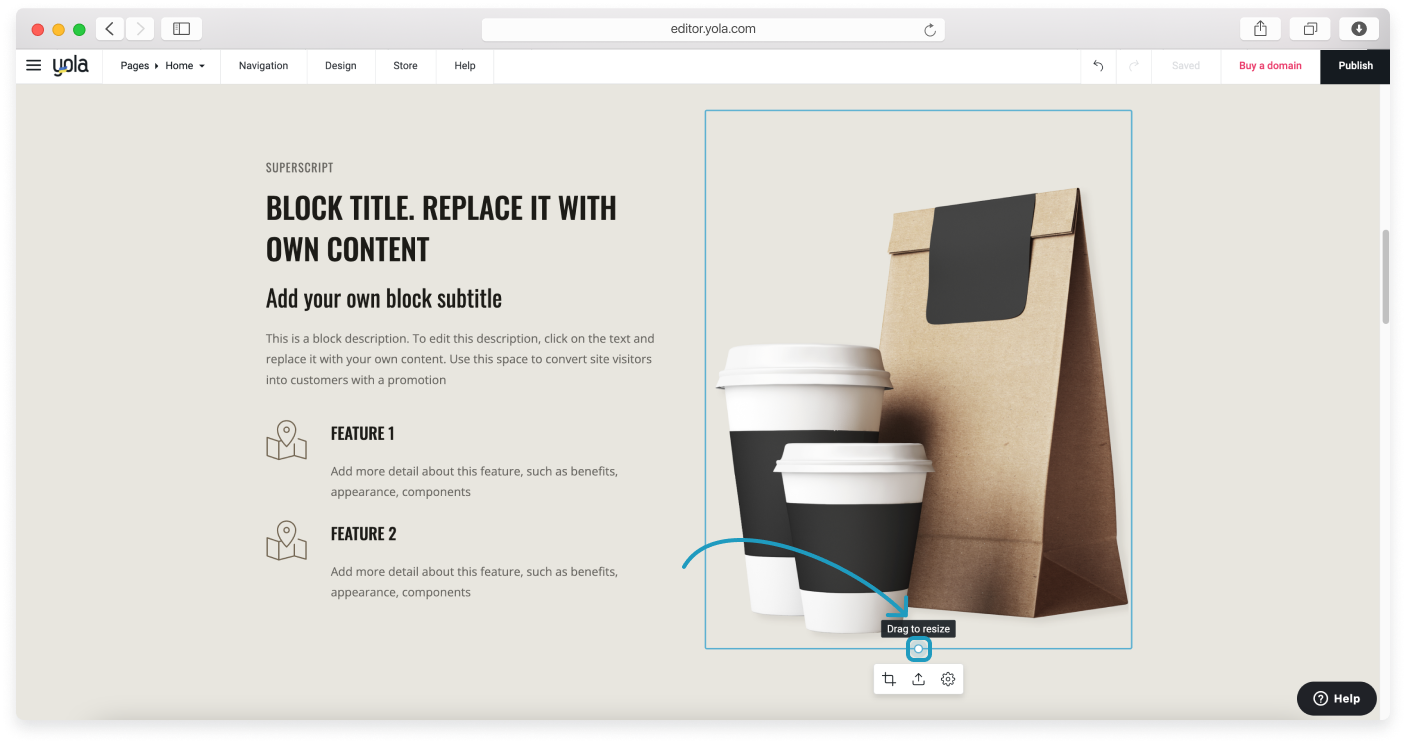
- Click the resize control and drag it to your desired position, like in the video below. You will see your block size automatically adjusting to the size of your image.
To resize a group of images simultaneously, follow these steps:
- Click one image from the group to call out its resize control.
- While pressing Shift on your keyboard, drag and drop the resize control of the selected image to a new position like in the video.
Tip: When dragging the resize control of an image, you can see a vertical anchor near the sibling images of the same height. This helps you align the photos more accurately.
The resizing feature works for every block of your website that contains images. If clicking the image doesn’t enable its resize control, go to Block settings > Appearance tab > untick the Fullscreen option.
Image positioning and focal point
When you customize your website, you may want to change your image position and focal point relatively to the text.
Here’s how you can change your front image position and focal point:
- Click the image to call out its customization menu.
- Click the Crop icon to open the control pane.
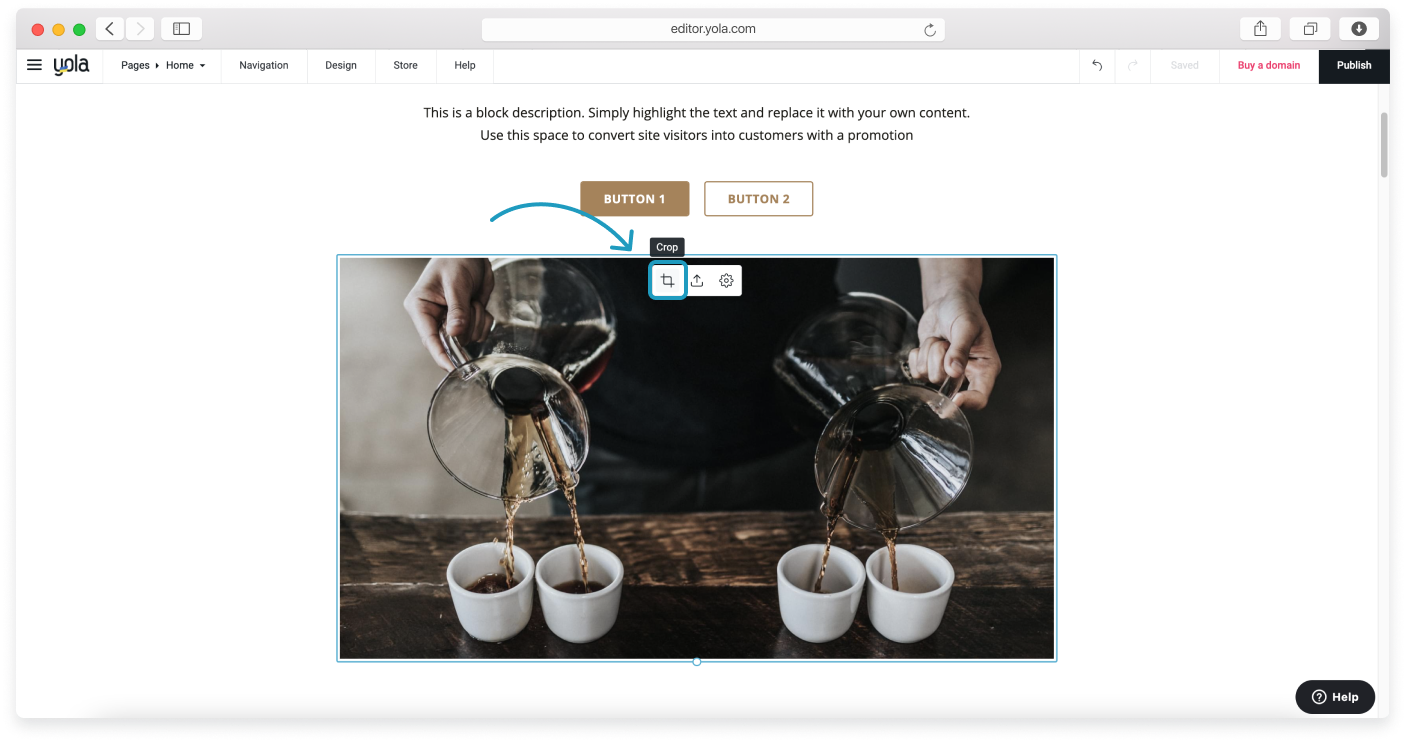
- When image resizing mode is active, drag and drop your image inside the frame to the position you like.
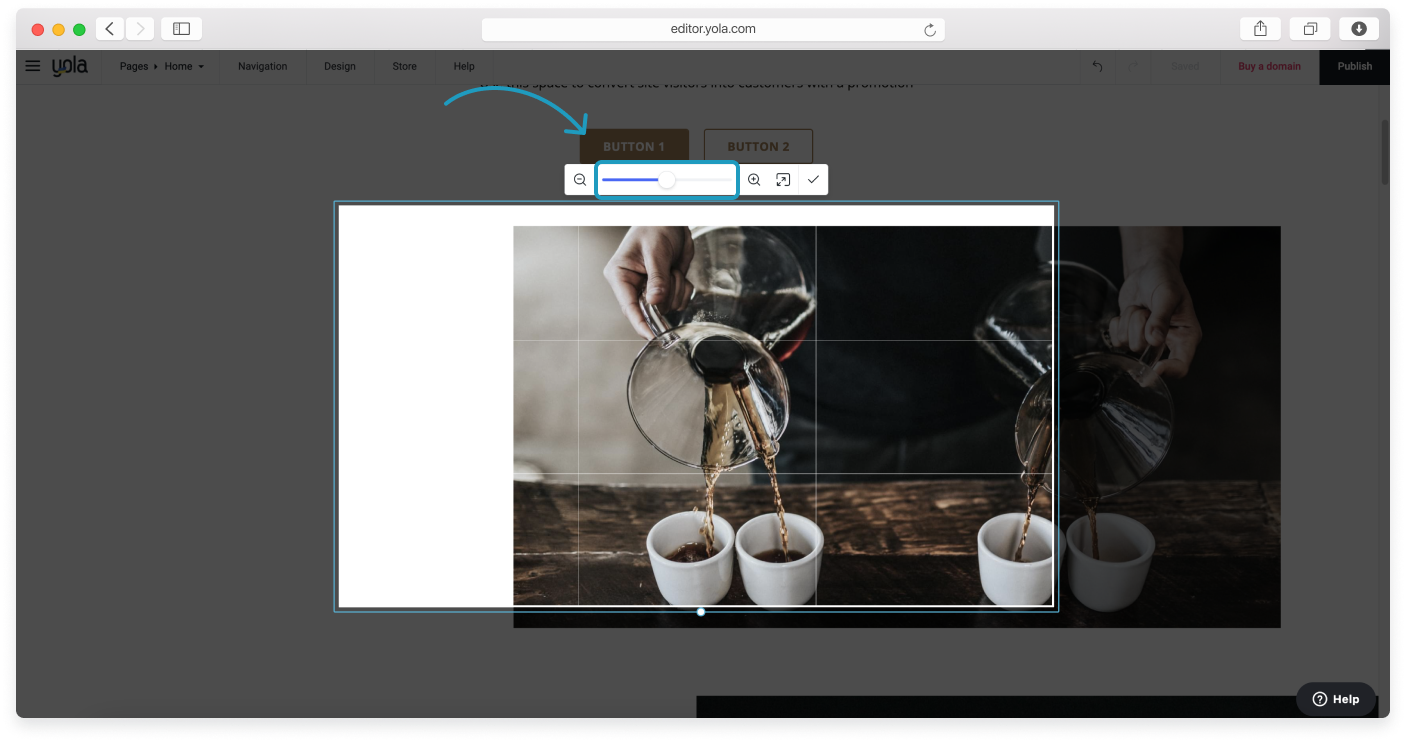
This feature works for your background image too.
To change your background image’s position and focal point, follow these steps:
- Click the block you want to customize to call out the control pane.
- Click the Edit image icon to open Block settings.
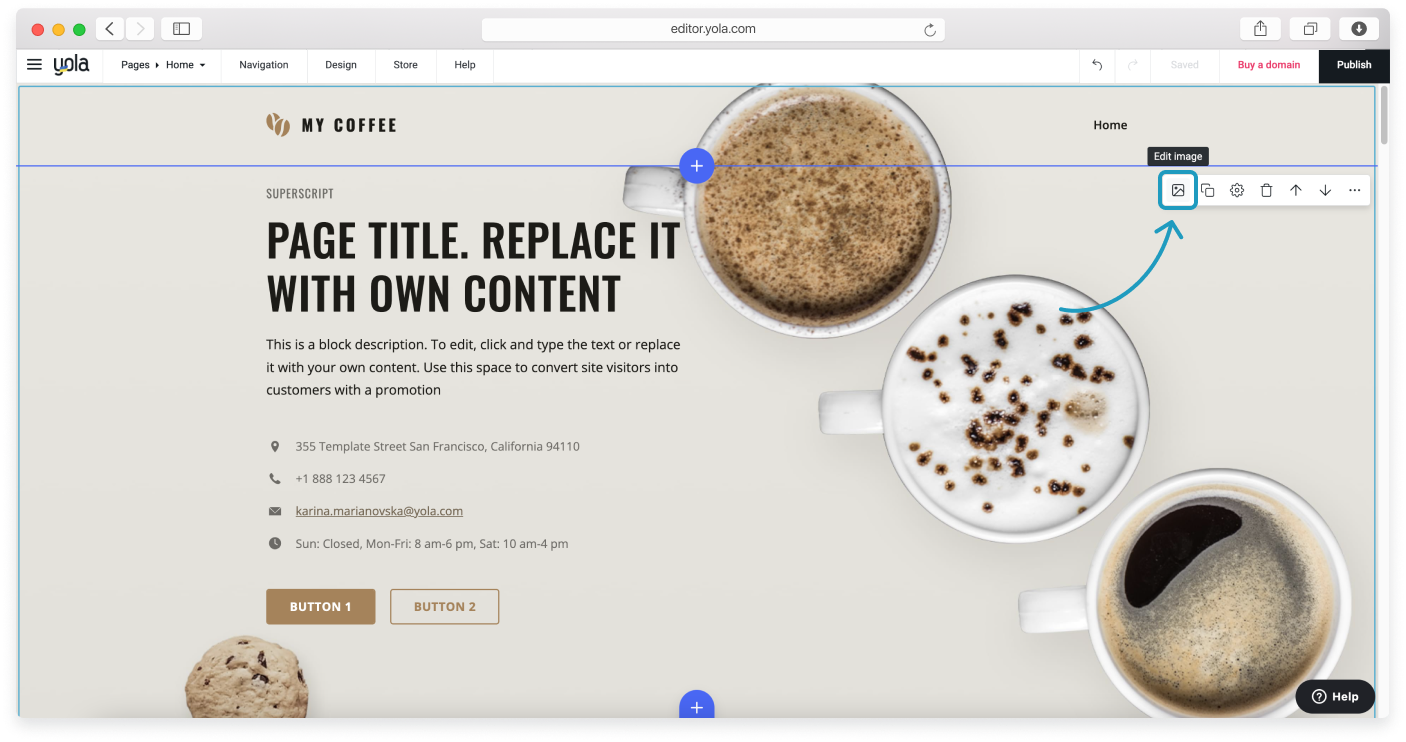
- In the Appearance tab, click Crop.
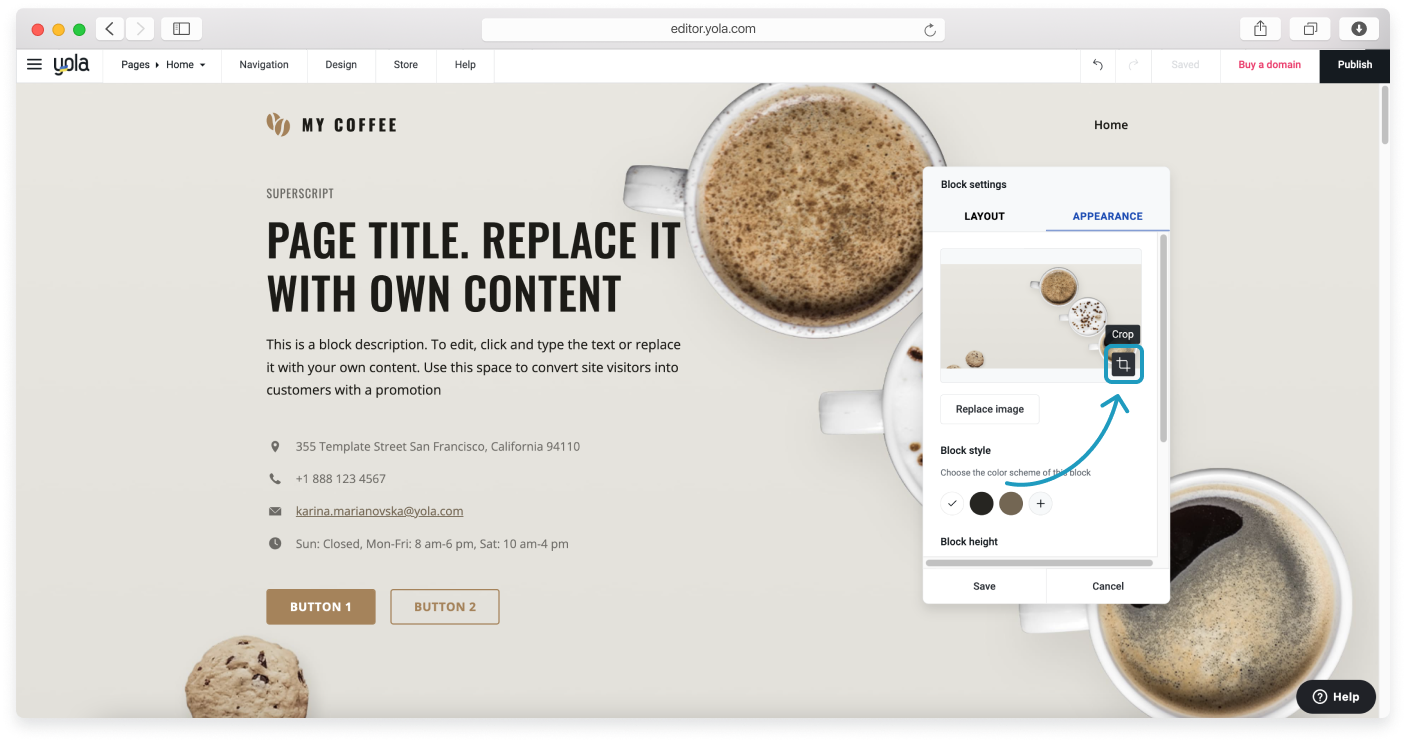
- When image resizing mode is active, drag and drop your background image inside the frame to highlight the focal point you like.
- Click the tick mark icon to submit, then click Save.
Here’s the video of the process.
We hope this guide helped you. If you have any questions, please contact our Support Team.
Ready to use your new knowledge? – Edit your site!